Continuing on our series of posts on the Trotec Speedy 100 laser, this article will cover the delivery and initial setup of the unit. As we noted in Part 1, the order was placed through Trotec Canada on July 18th, shipped out on from Mississauga ON on July 19th, and arrived at our location in Halifax NS on July 21st via Day & Ross. Quick turn around on such a large customer piece of equipment, having it arrive before the weekend was a nice unexpected bonus.
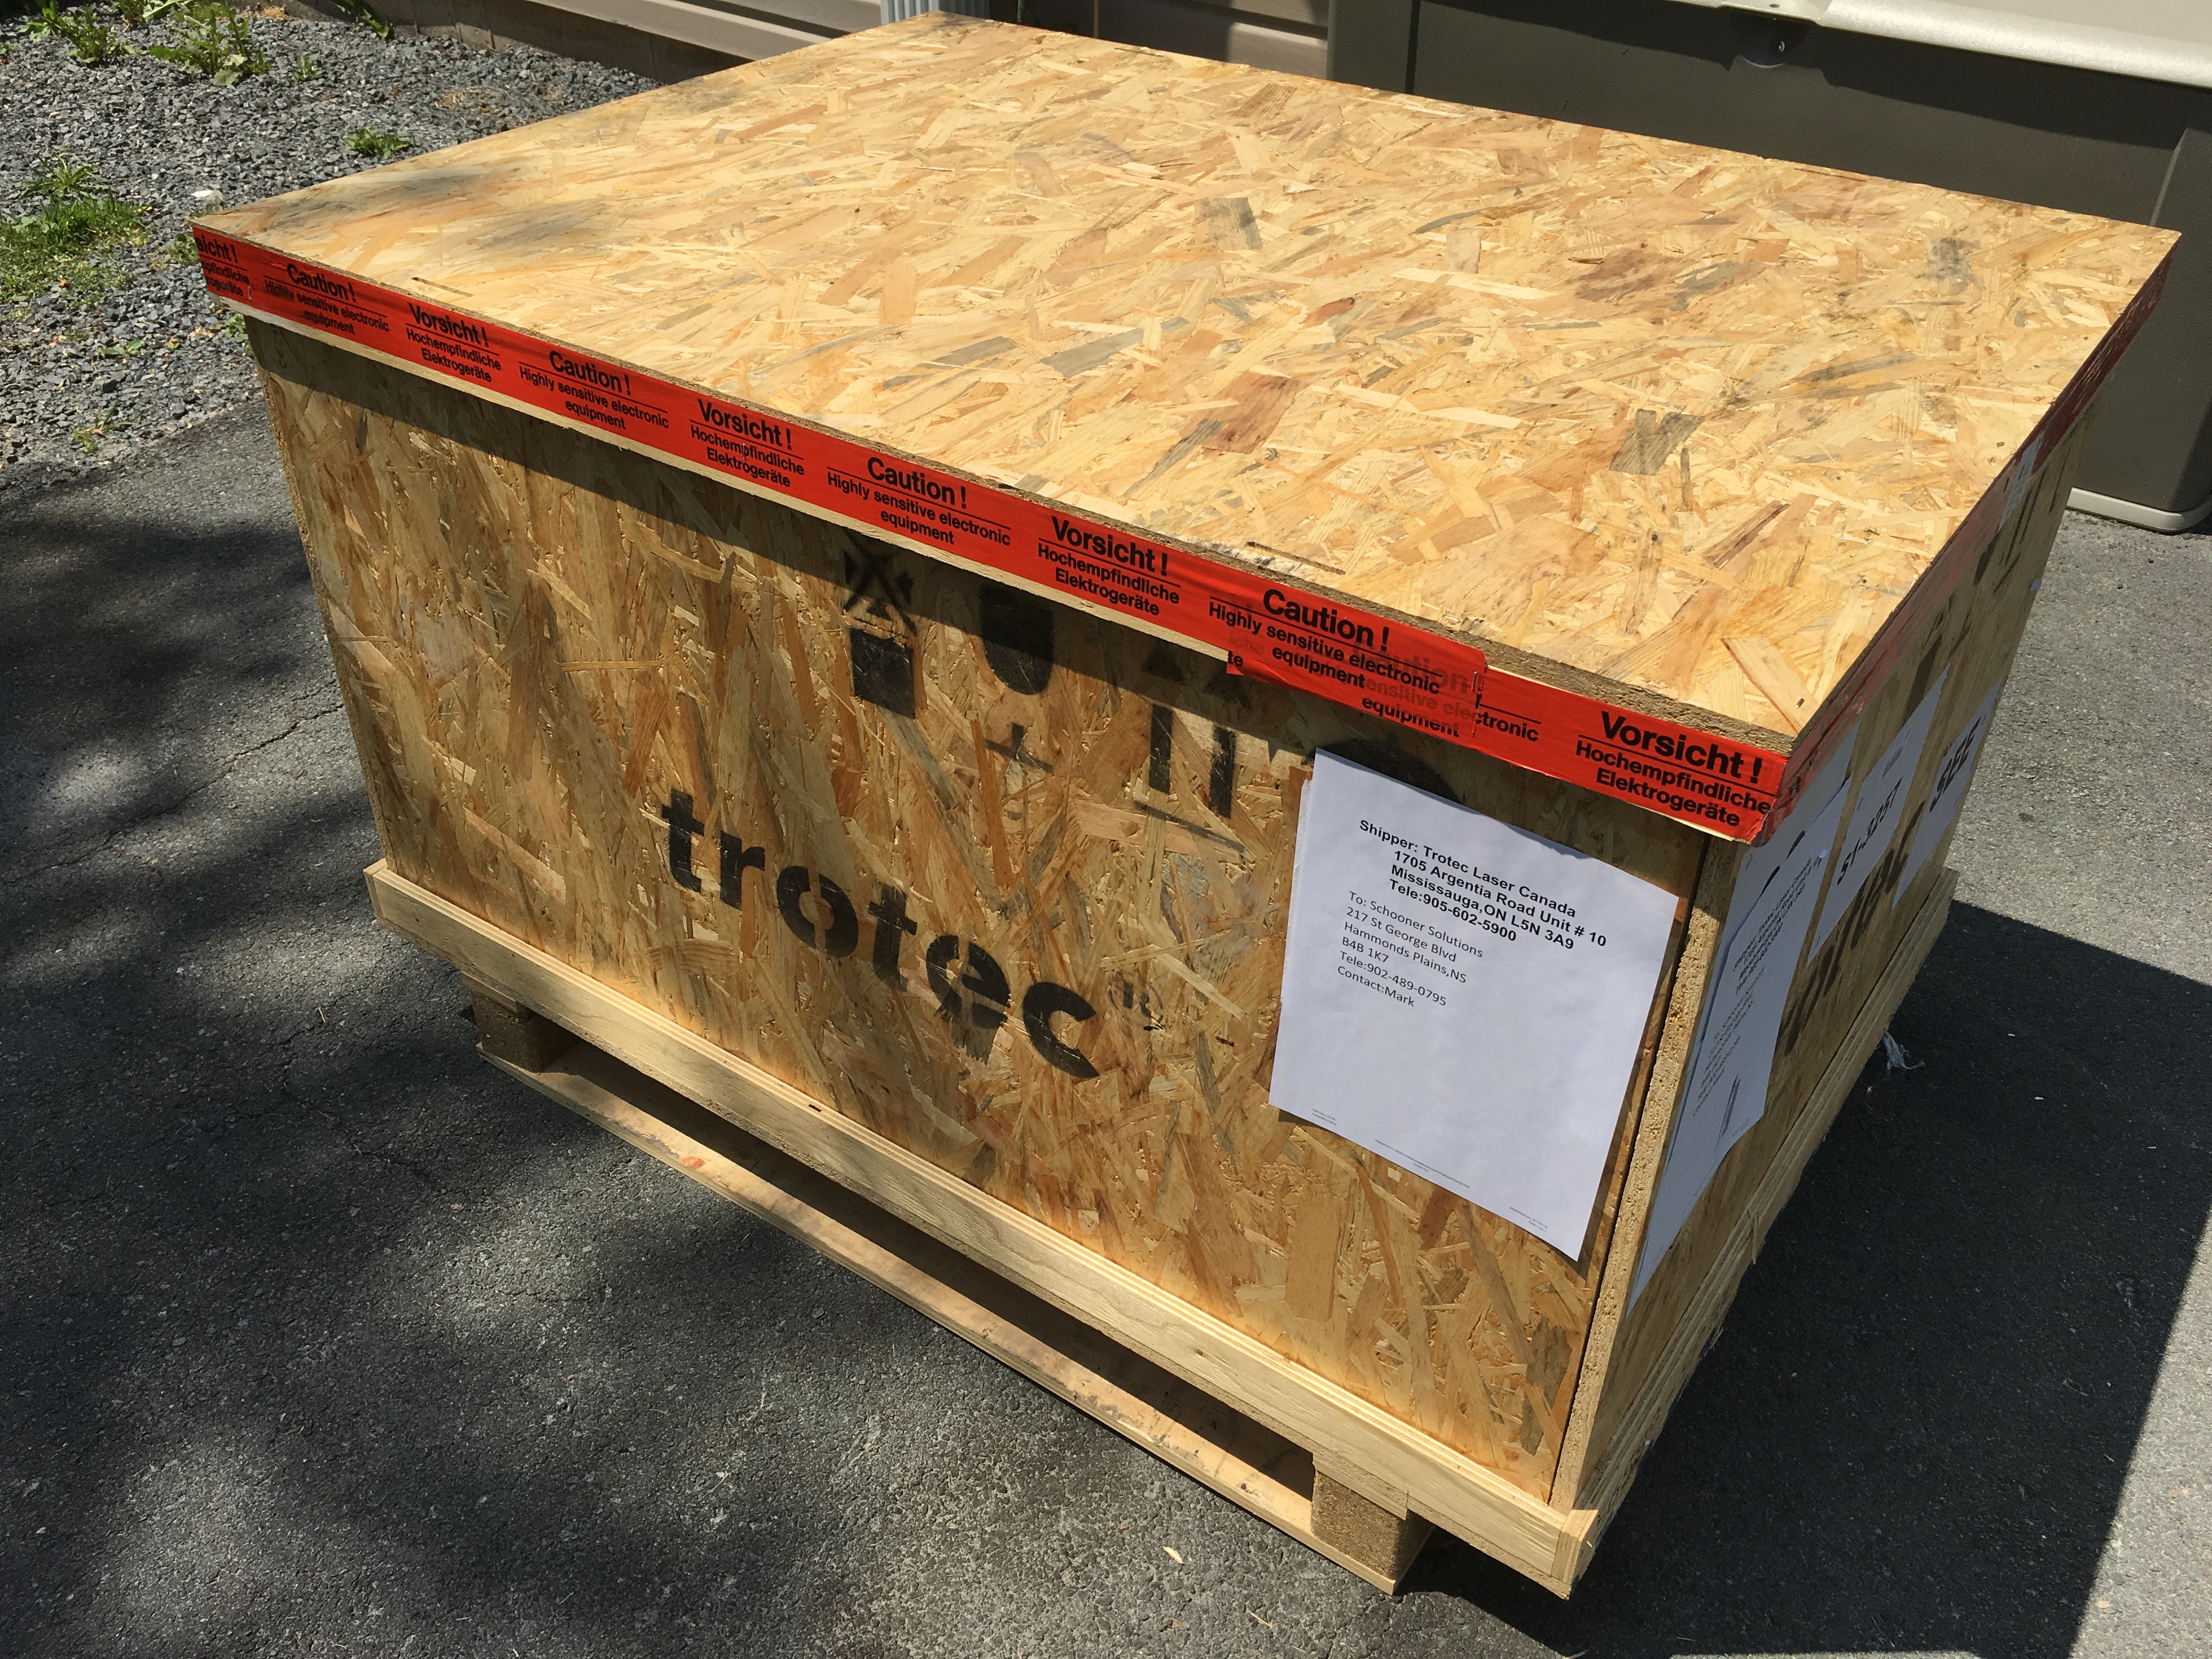
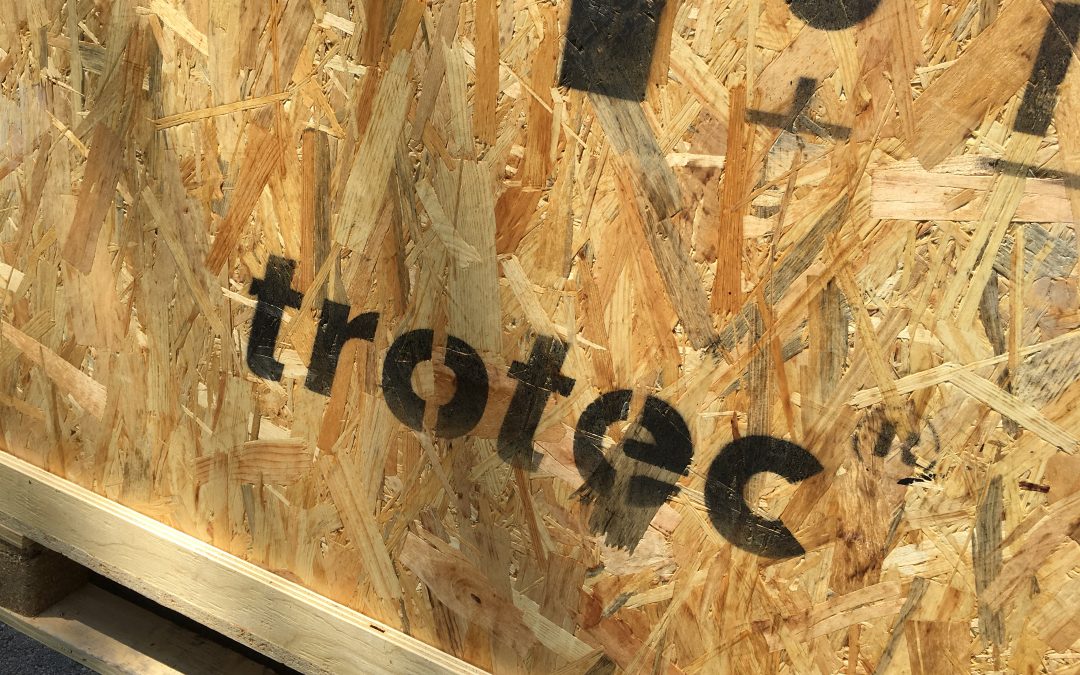
 The system came in a large & heavy wooden crate. The shippers were informed to have a lift gate and were able to easily unload into our driveway. To say it was bigger & heavier than we imagined would be an understatement! One item on the crate, it was only held in place with 2 screws in the corners on one side. While not an issue in this case it would have been nice to see it more secured with a couple more screws on each side in case it was tipped or bumped.
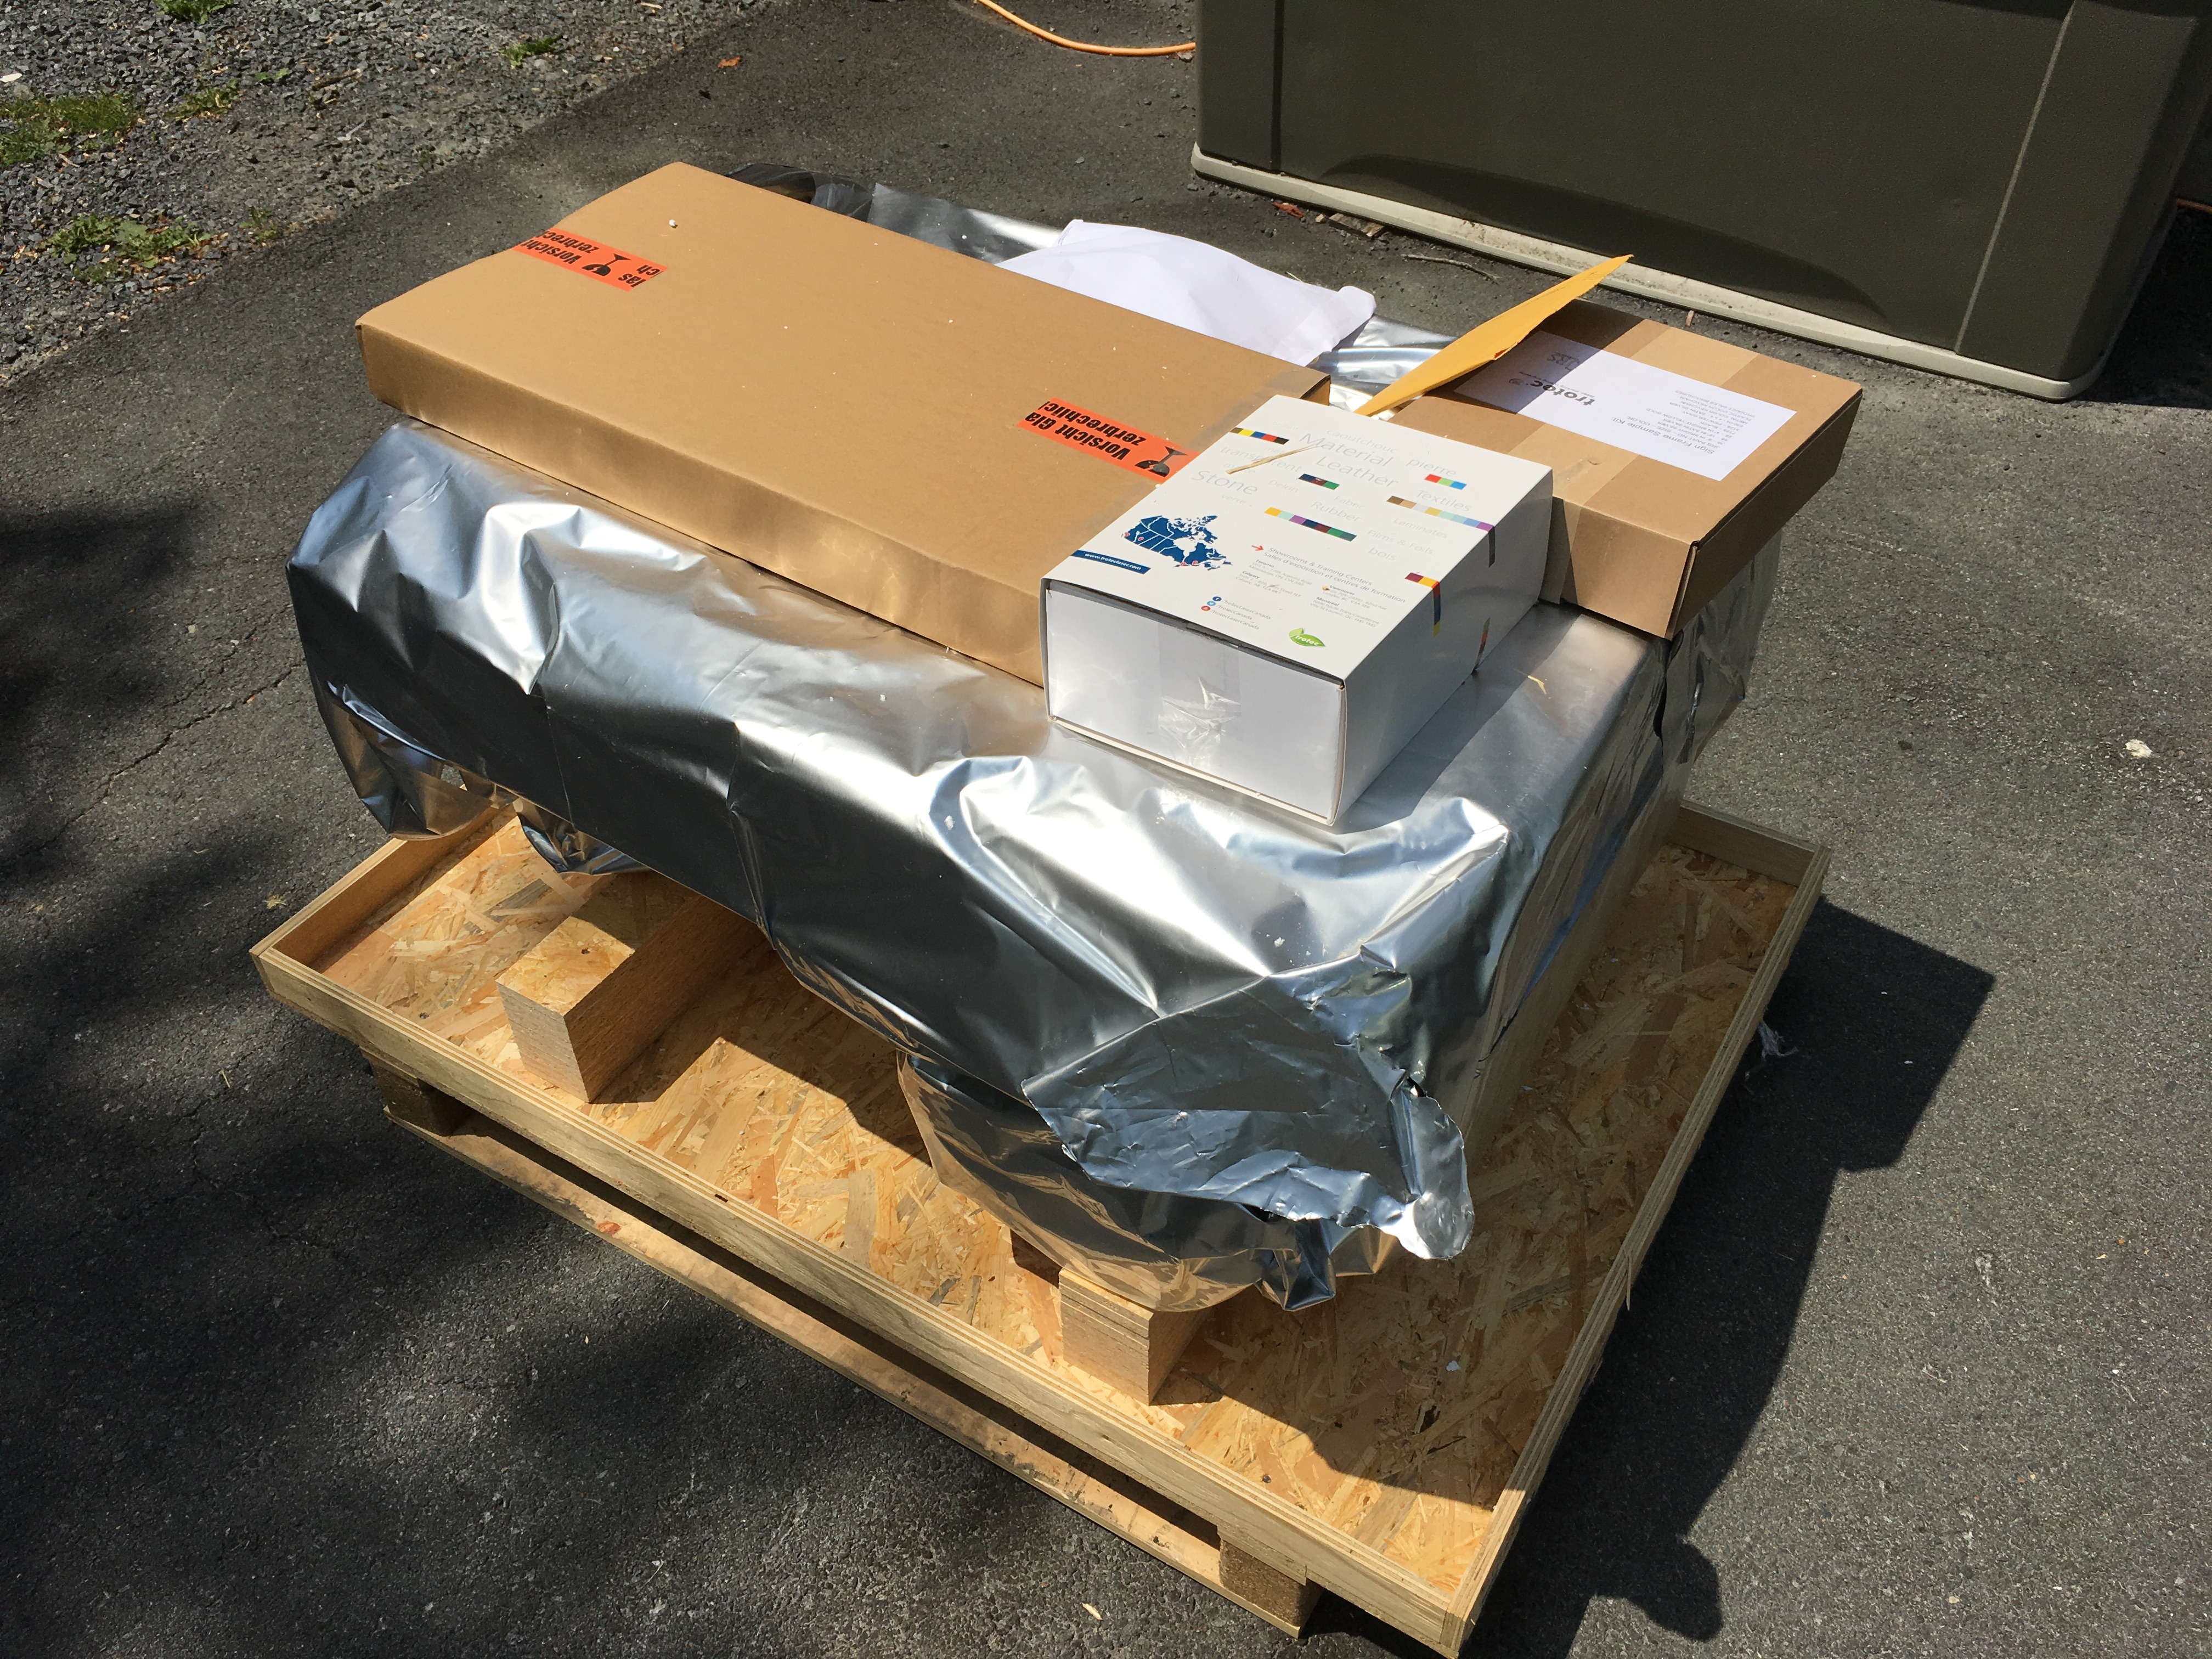
 Removing the top of the crate revealed the laser sealed in a foiled vacuum bag for protection, as well as a large desiccant bag inside.
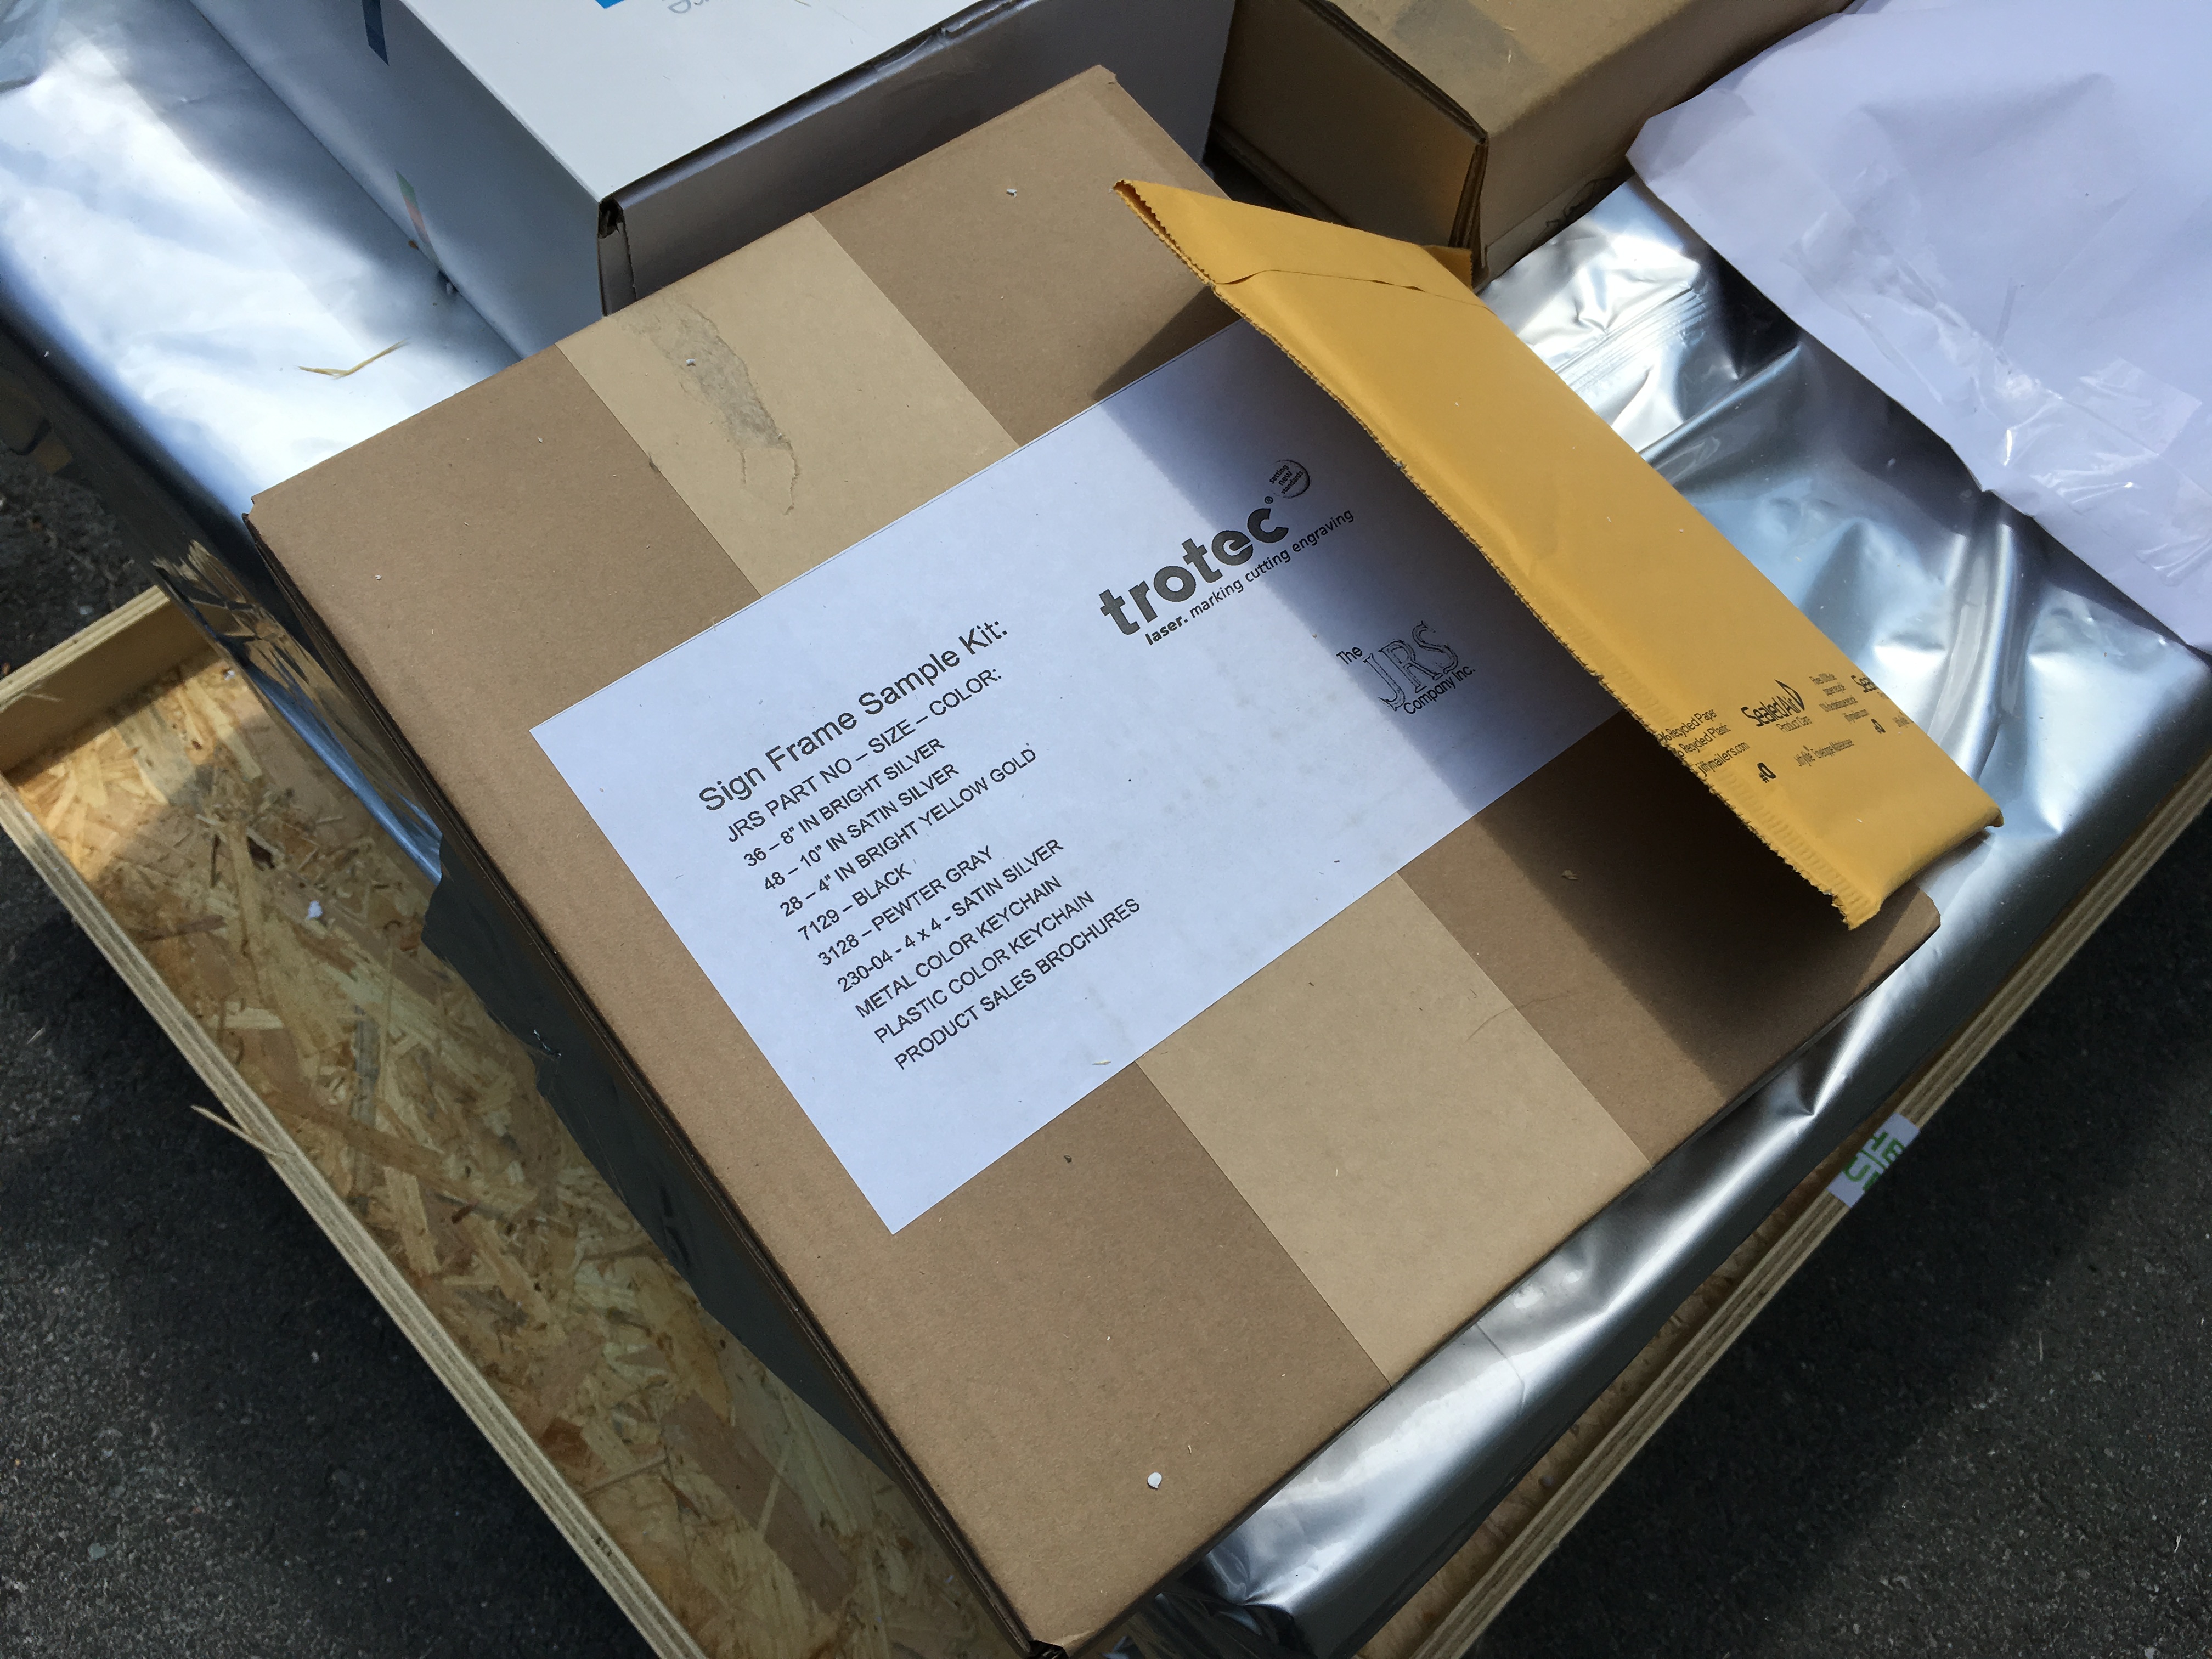
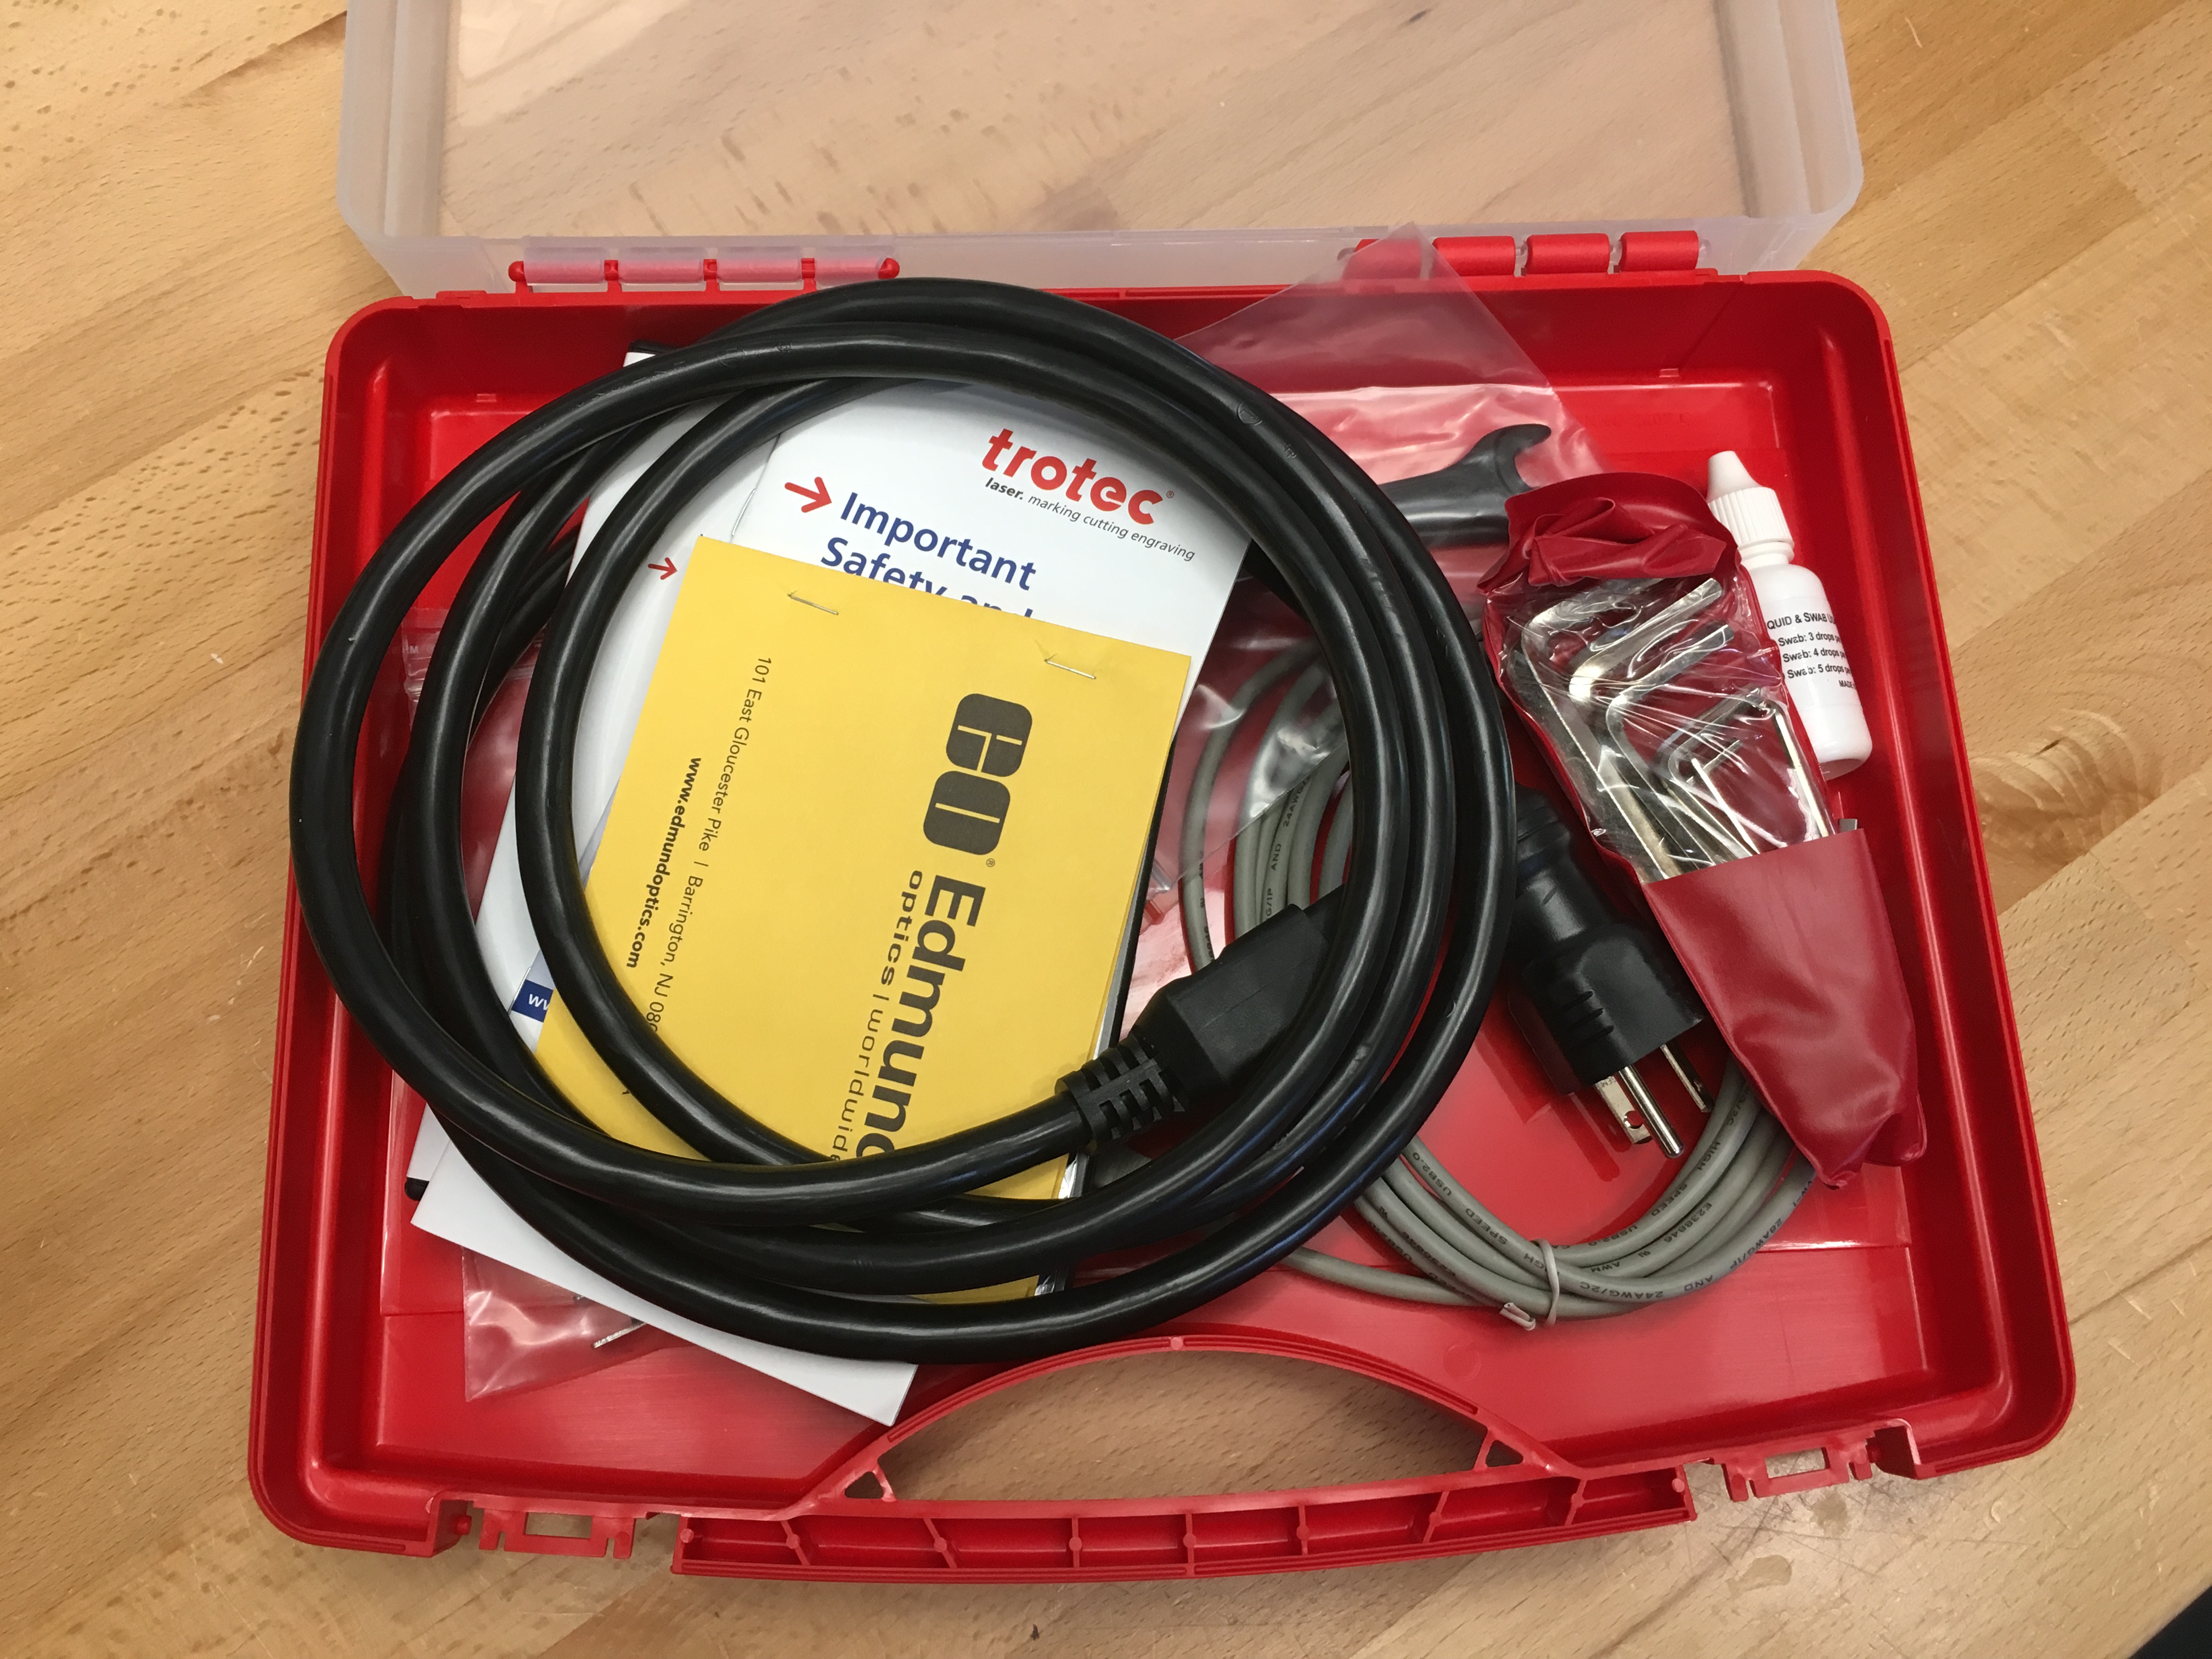
The manuals, tools, samples, and other extras were all packed on top of the laser with foam, all arriving in the one container. Everything looked to be in perfect condition.
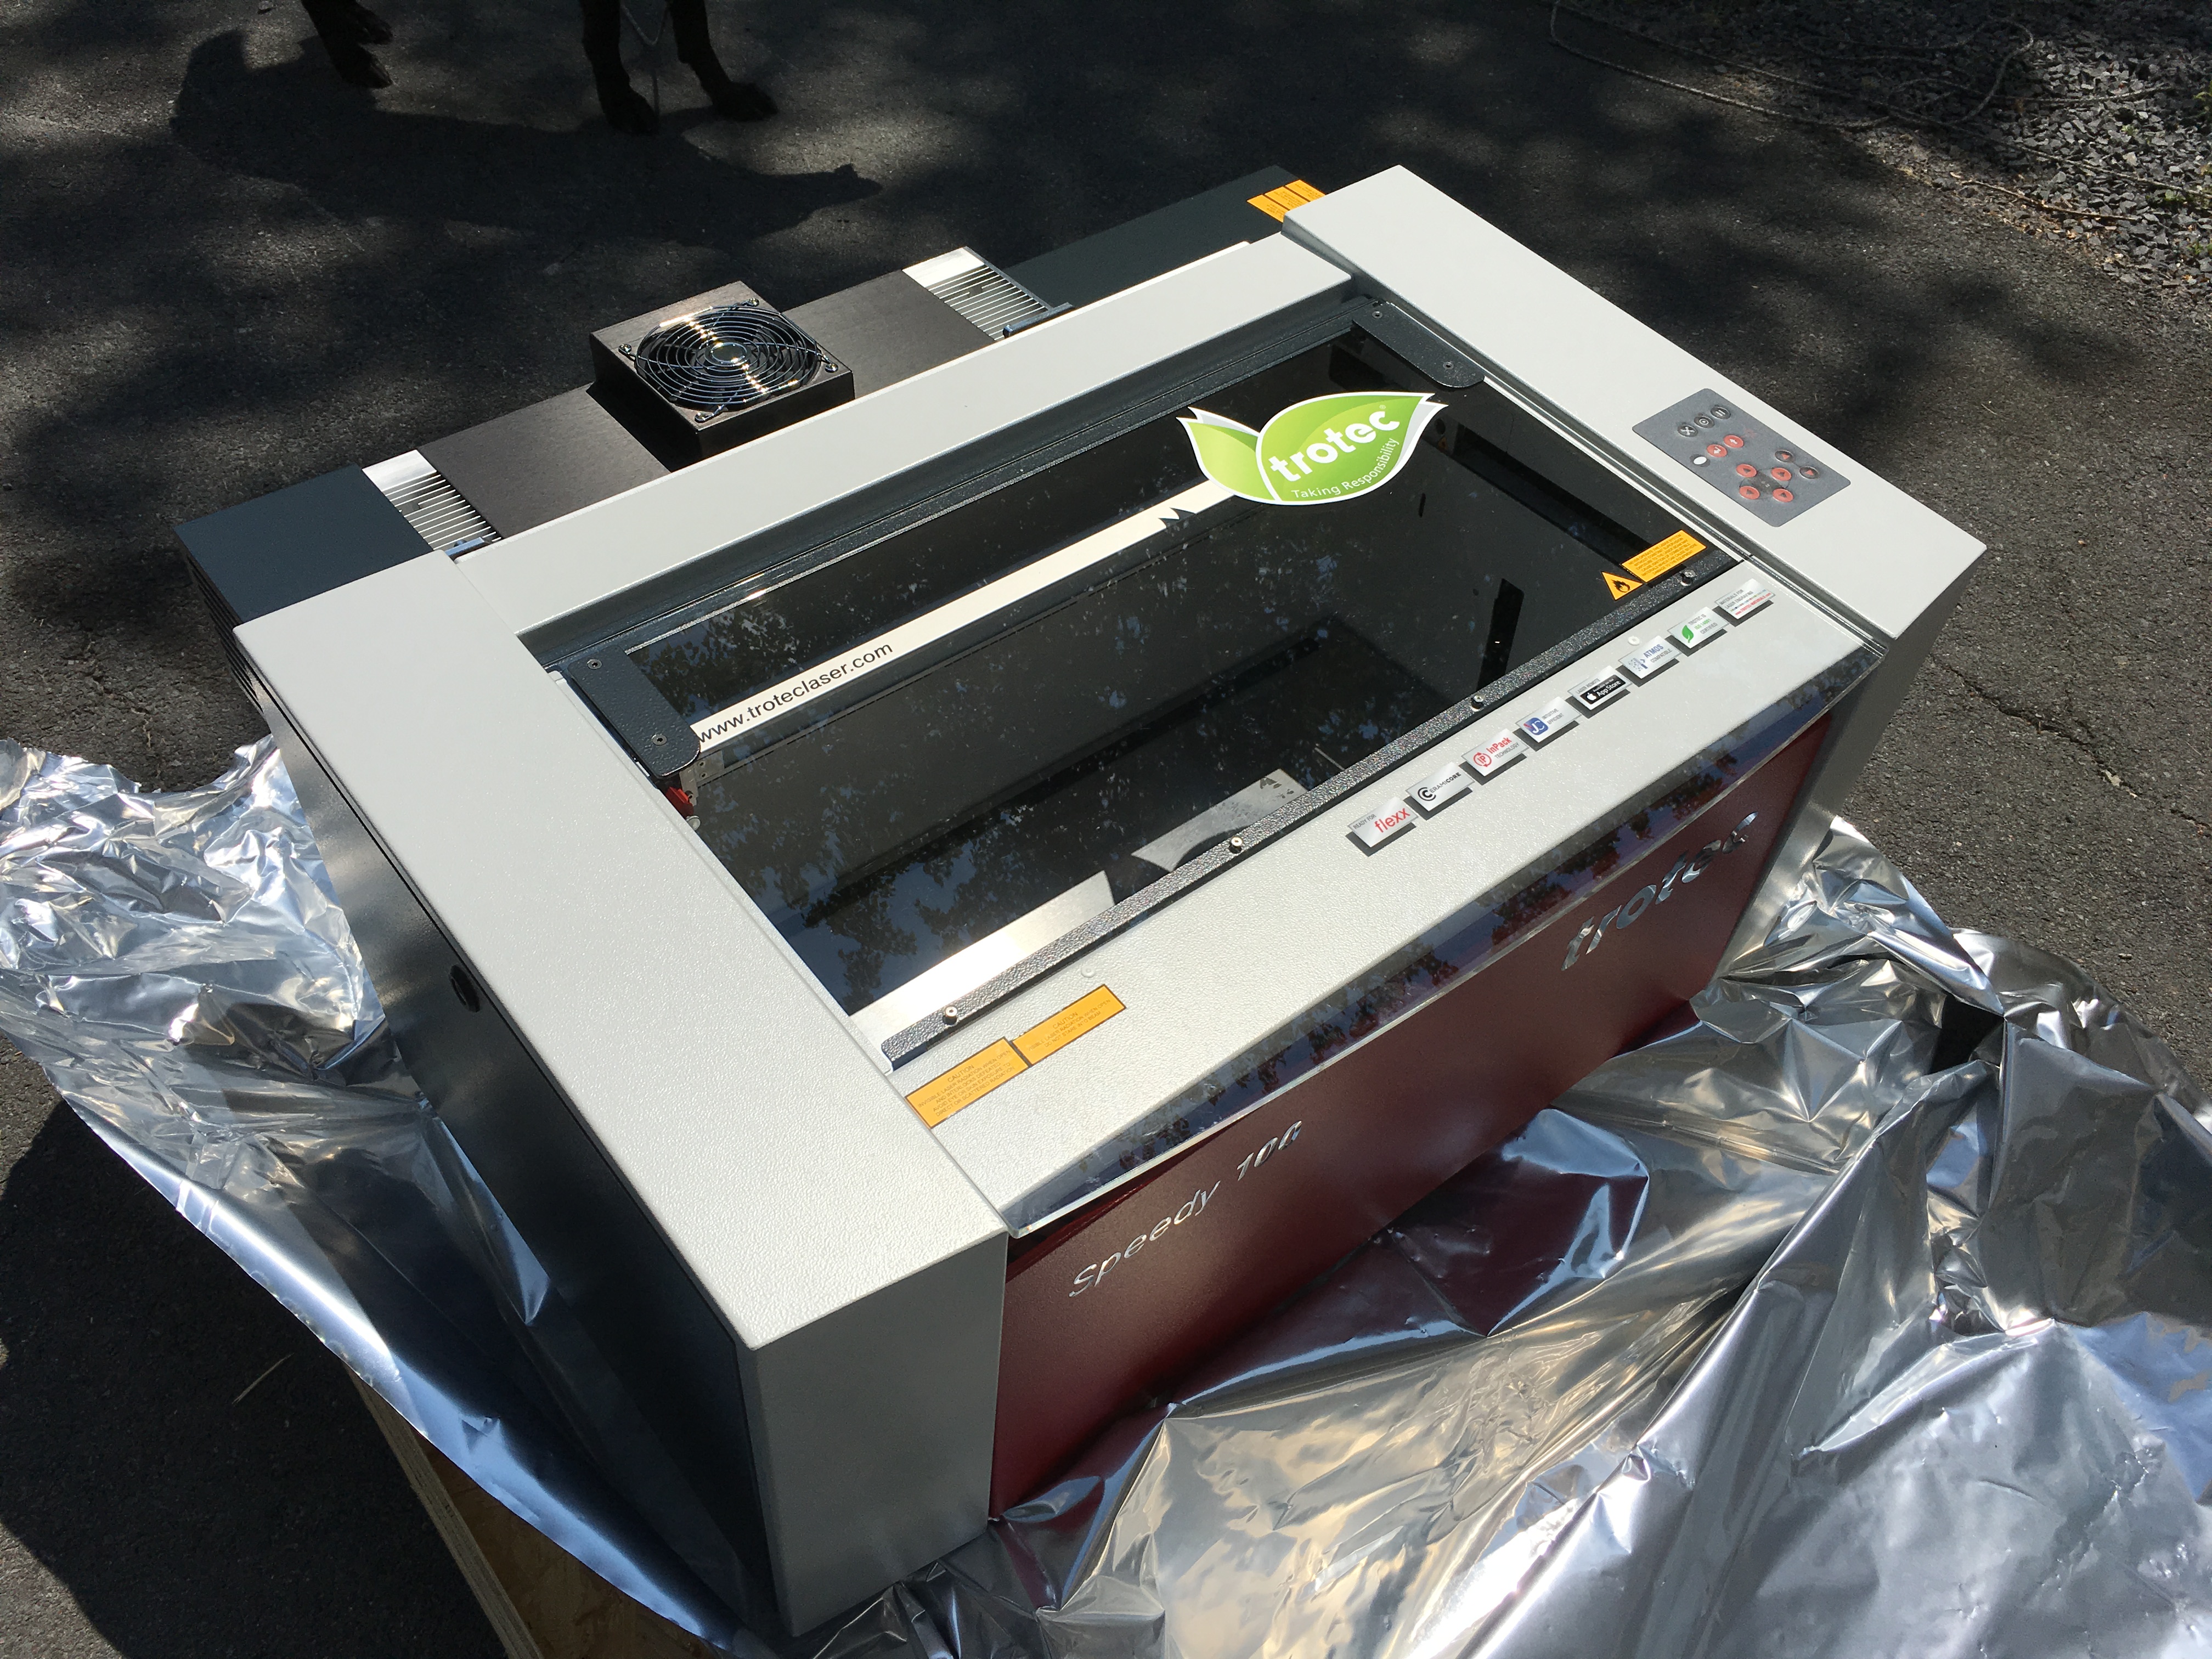
The next big challenge was getting the laser off the crate and into our shop. This thing is a tank and weighs a ton! As we are a small family business in a home based shop there are not a lot of options for forklifts and cranes. With a bit of sweat we managed to move the unit inside with a few sets of hands. The Speedy 100 just fits through a 36″ door, which was good to see lest we be stuck thinking of work arounds.
We temporarily placed the unit on the shop floor until we could determine the final permanent location as well as put together a stand unit. The location would serve for short term during initial setup and testing, with exhaust run through the window to our external fan unit to get things going makeshift style.
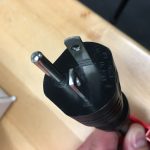 The first road-bump we ran into was the AC power cord. It comes with a non standard 20A plug, and our shop only has standard 15A outlets. Being the weekend we were unable to confirm with sales & support if this was the proper plug or not. As we knew the unit used less that 15A we did a quick replacement of an outlet to a 20A style and had power. It was later confirmed with sales that a standard 15A outlet is fine and that we could replace the plug on the cord and that new units should be changing to normal plug. That being said our intent is to keep it as is, and have a dedicated 20A outlet installed for the laser so as to isolate it from the rest of the shop and ensure it has sufficient power at all times.
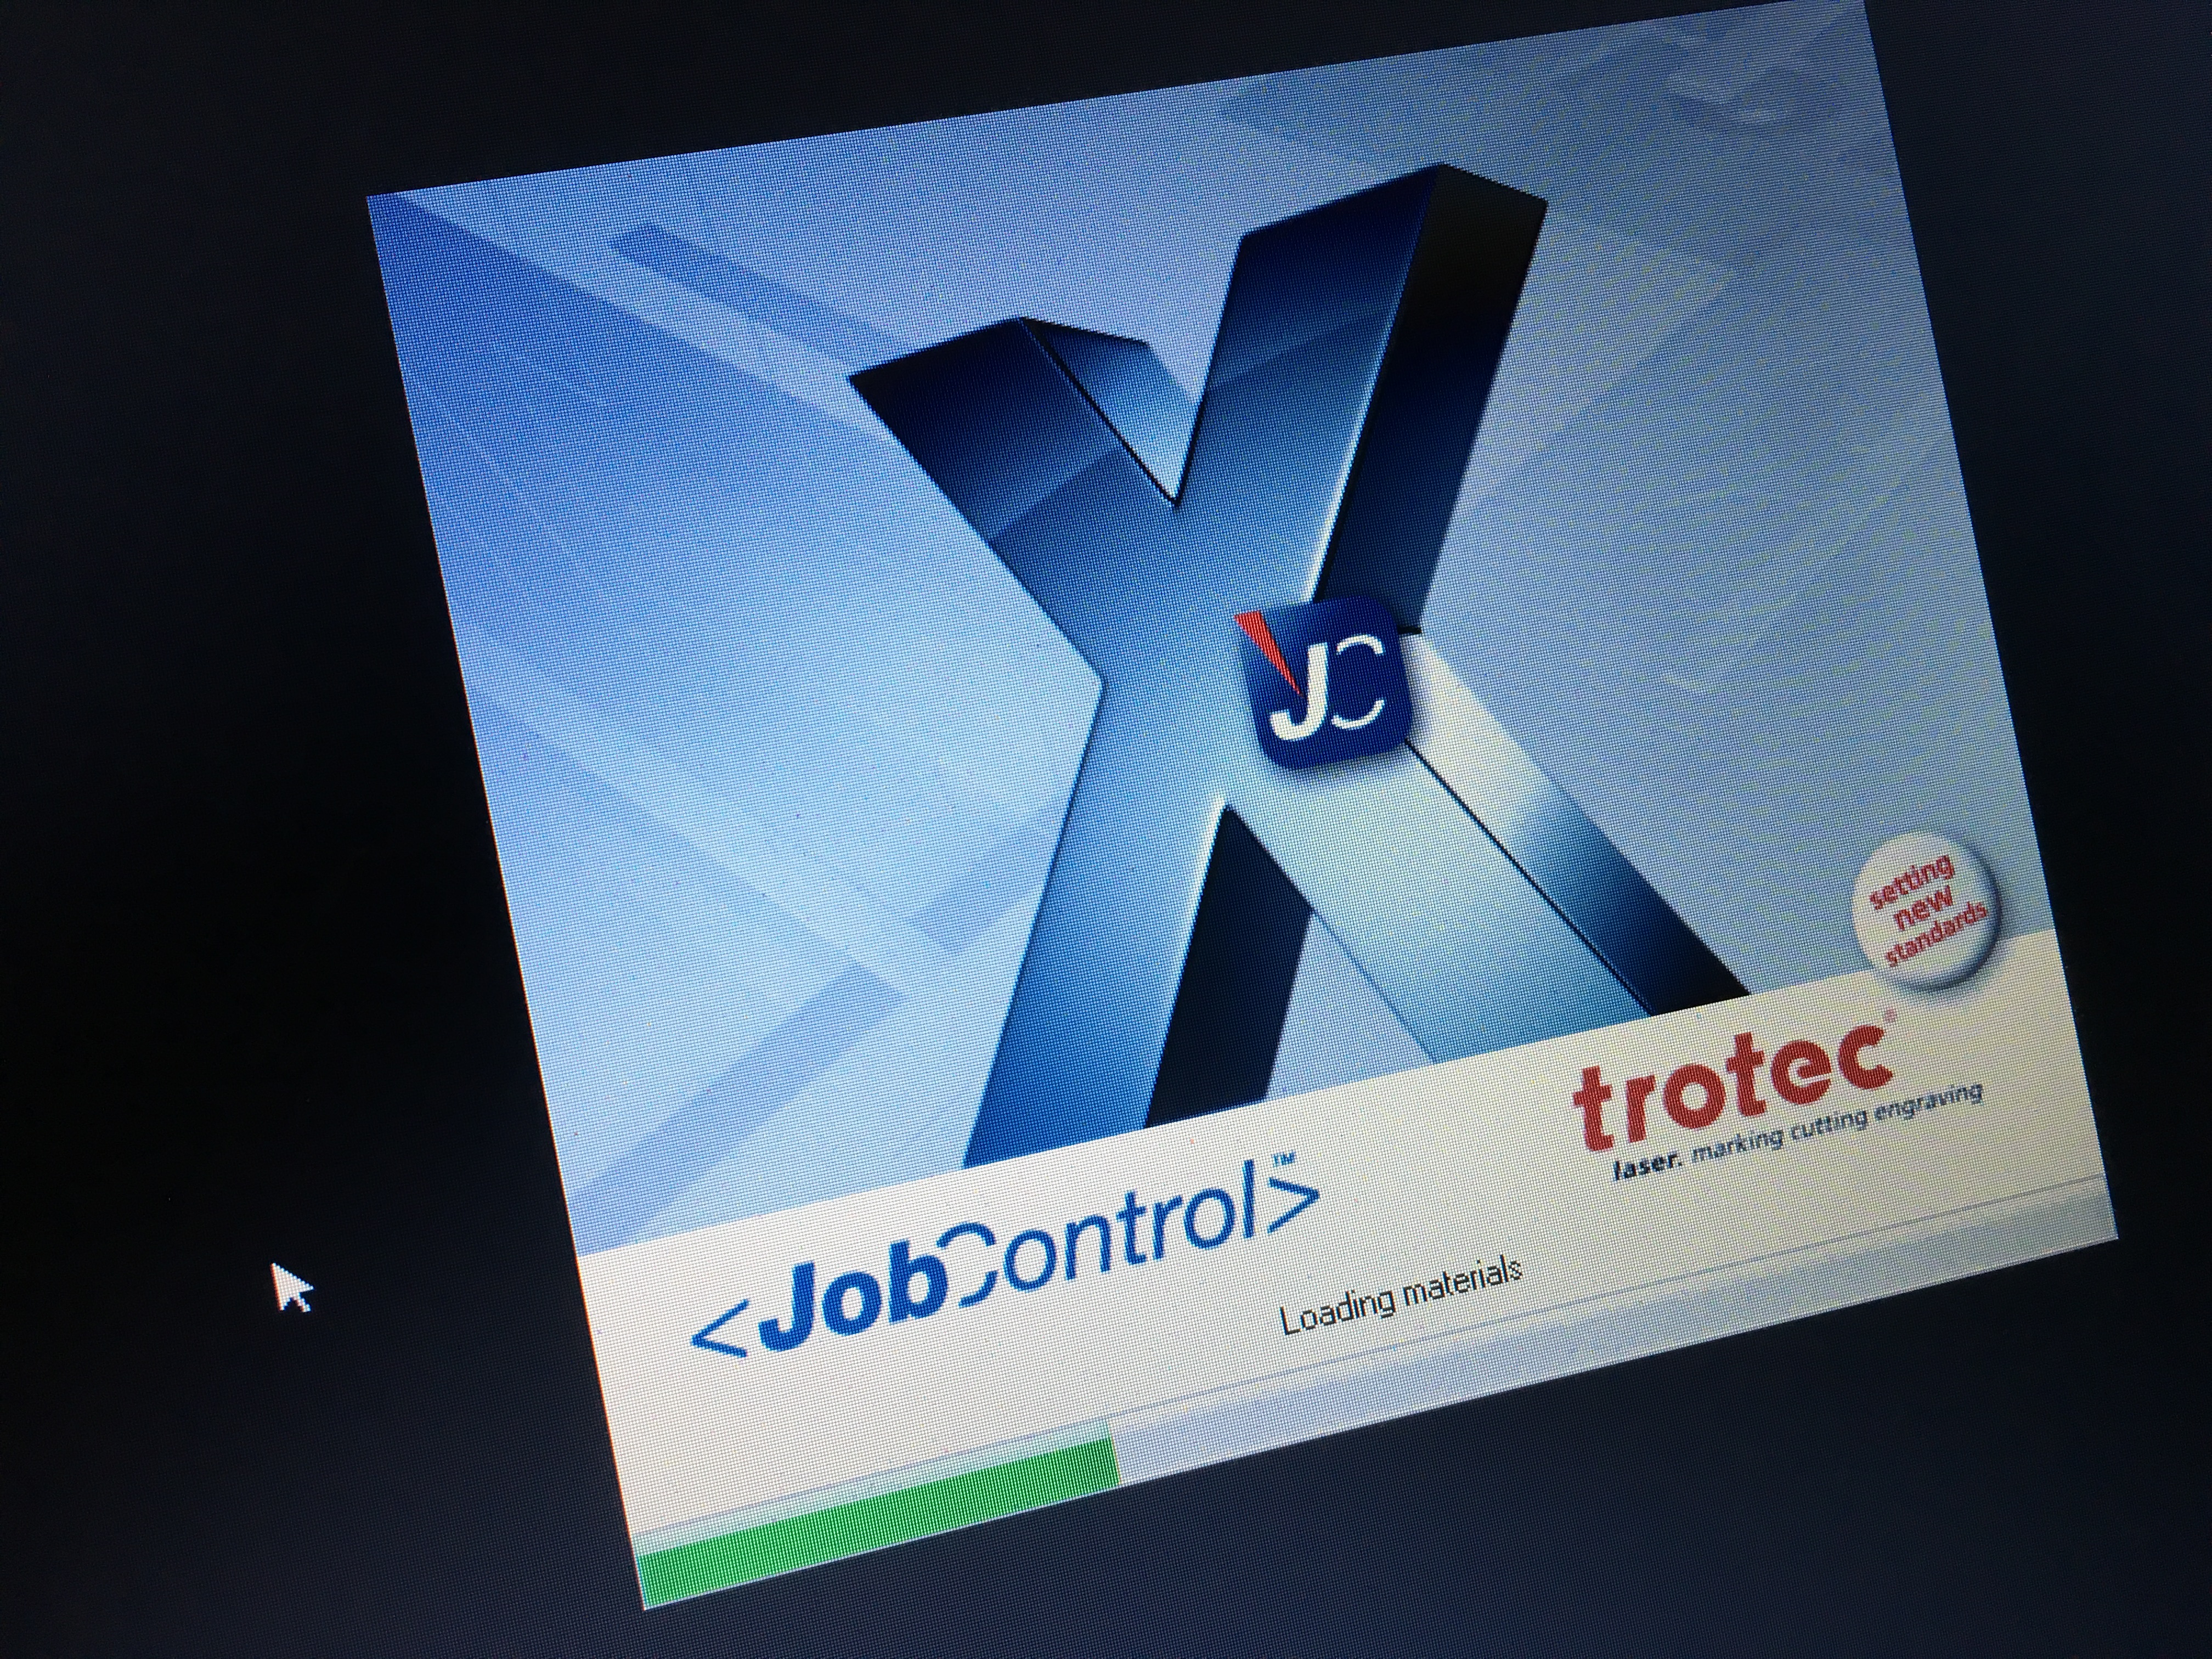
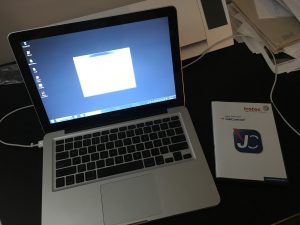 Next up was installation of the JobControl laser software. A fairly straight forward standard Windows software install from the included DVD, after which you enter the provided serials & keys to unlock the software features. We did have an issue with some features/settings not working properly, namely dithering options, but this was later resolved with a reinstall of a newer downloaded version provided by tech support.
Once installed the Trotec system showed up as an available printer and we were able to send designs from Illustrator and Acrobat for printing which then flowed into the JobControl software for placement & processing.
There is a bit of a learning curve around the various printer settings for sending the job to get the proper sizing and parameters but with each use and some trial and errors this starts to make more sense.
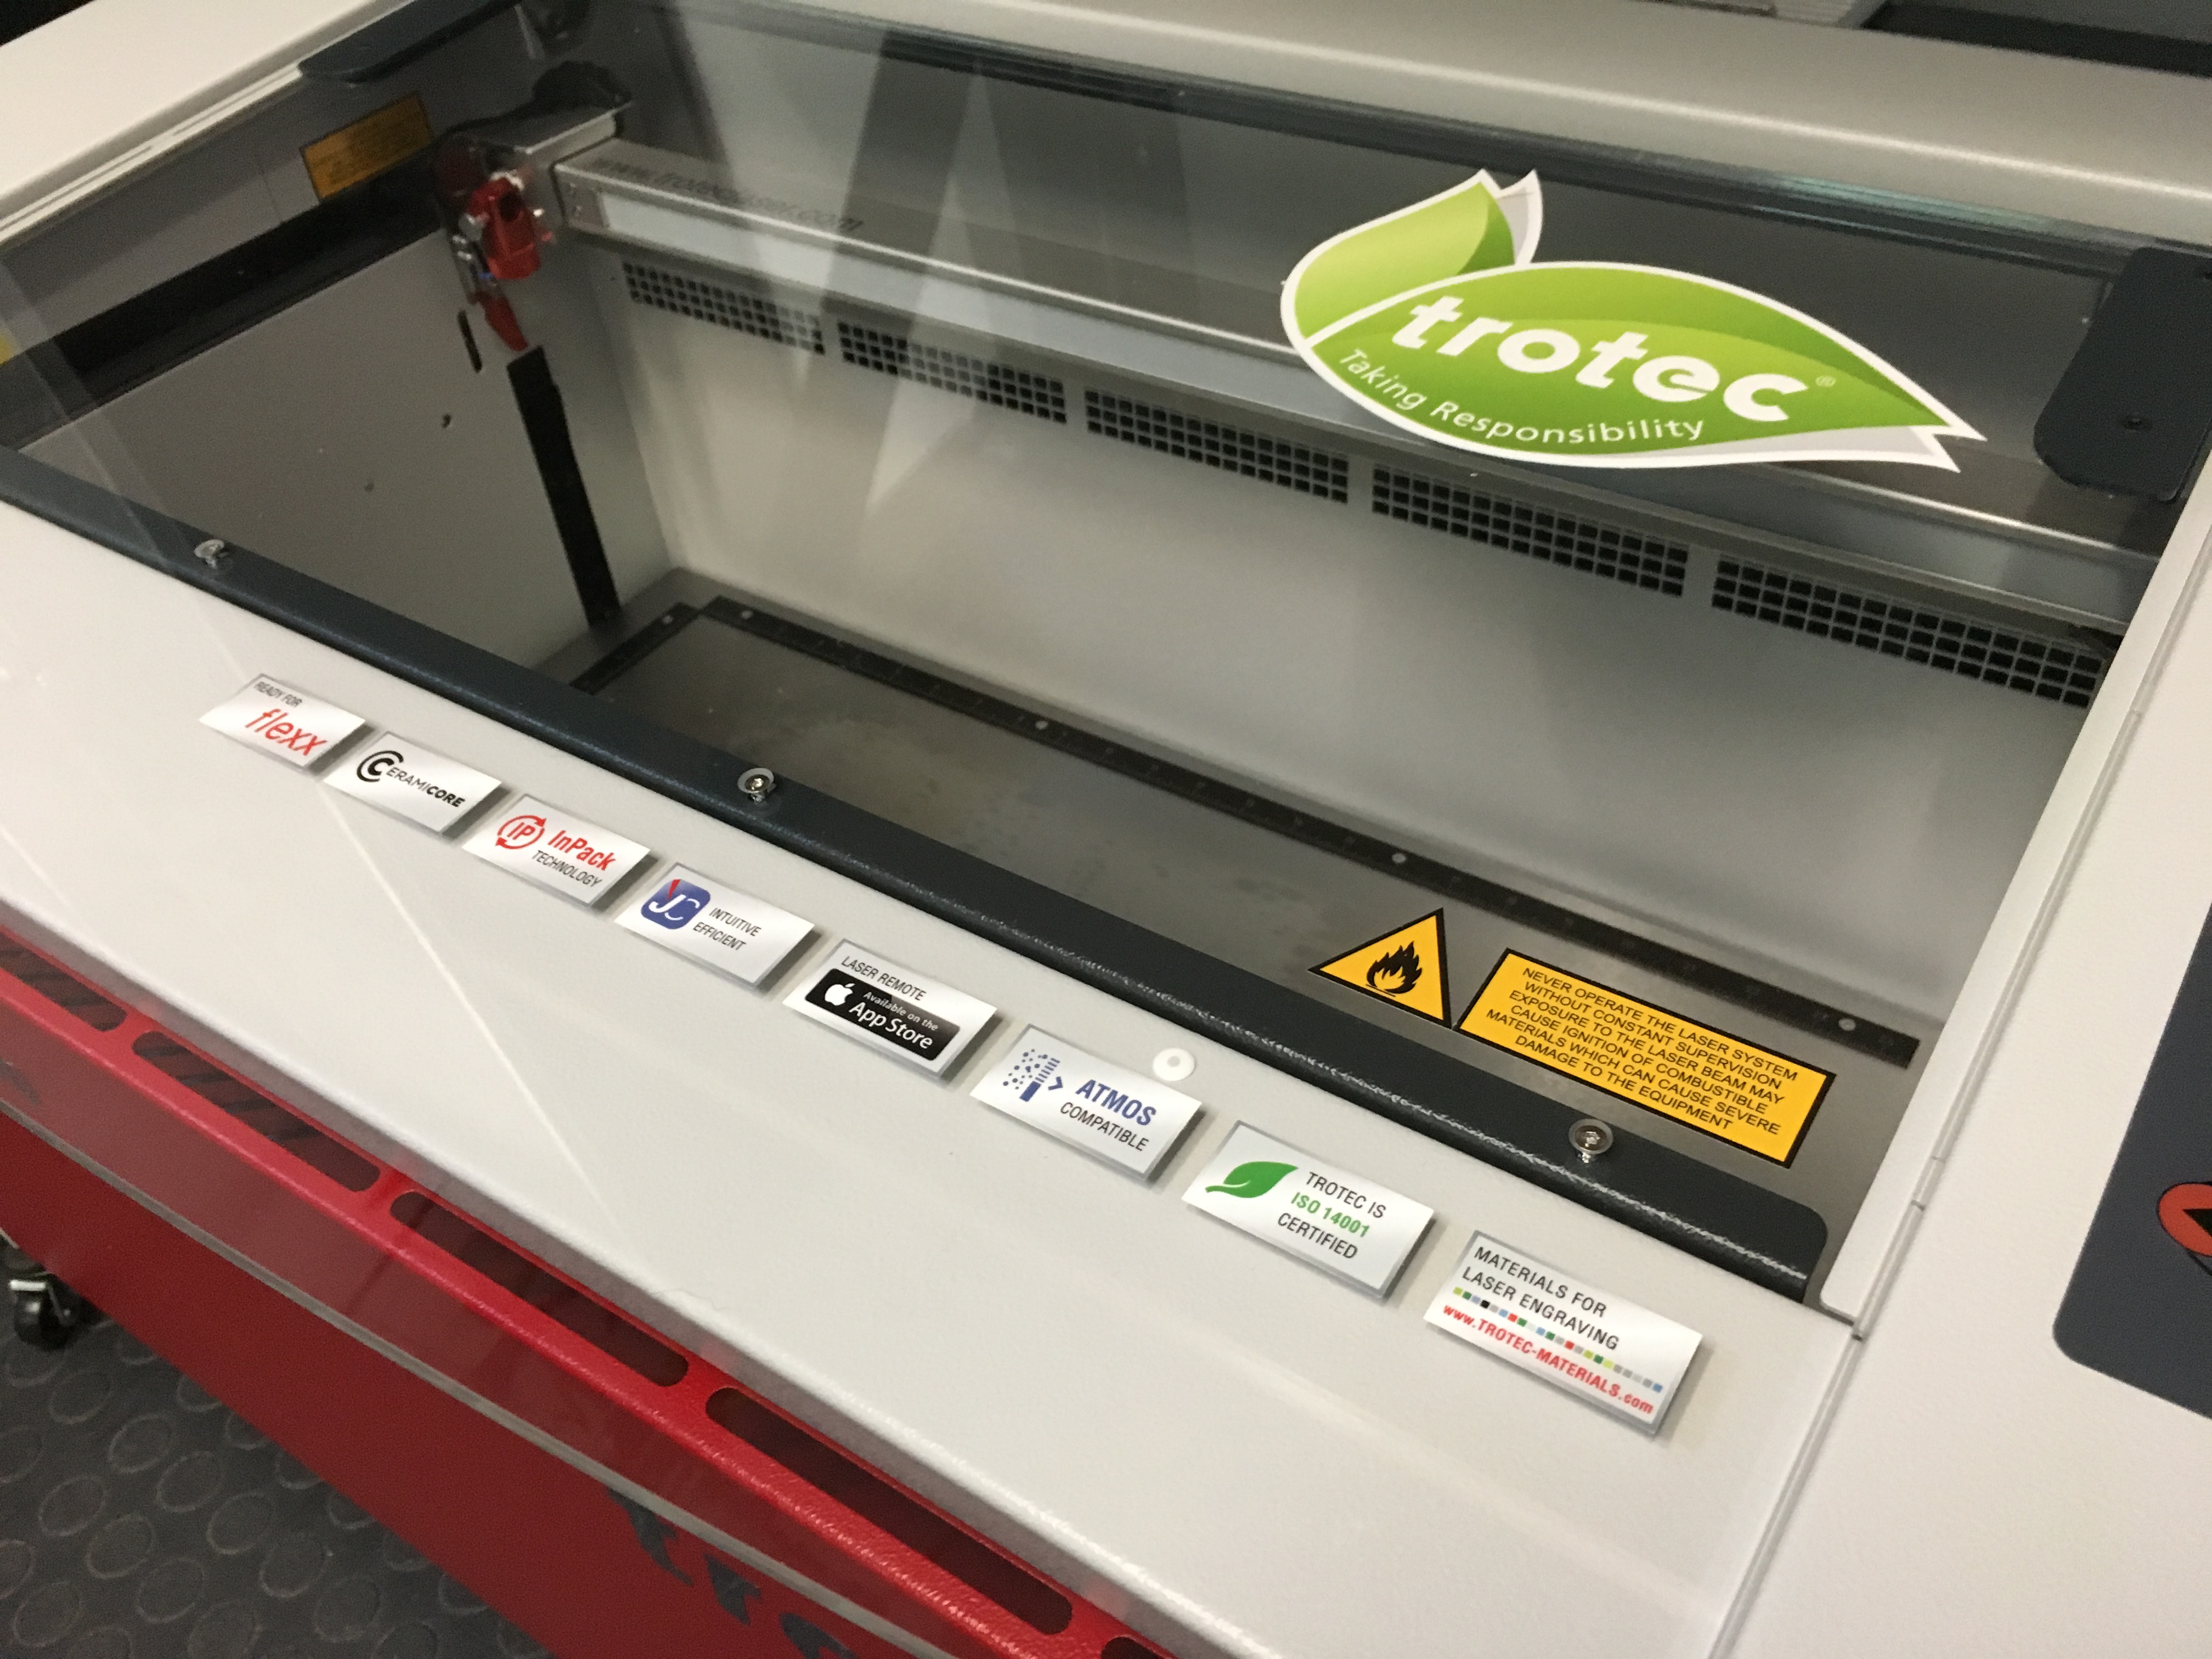
 With the laser powered up, exhaust fan running, and software installed, we were finally able to connect the PC and Speedy 100 via USB and prepare for our first engrave & cut!
Process was pretty simple, we placed some of the included sample plywood on the cutting tray, moved a test coaster job onto the plate in JobControl, double checked the settings which we simply picked from the materials library provided in the software, and sent it off to run the job.
And like magic it rastered our design and cut the border vector, all without any issue. Our first success in using a real laser system! Overall very impressed with the speed, quality, and end results for a first time use on a new machine we had no experience with. From there it was a lot of playing around with different test designs and materials, learning the ins and outs of the basics and seeing what the system could do and how it worked. There is certainly a learning curve that will continue for sometime, but one that comes quickly once you get your hands on using the laser. You really need to work with the unit and the materials to know what it is capable of doing.
It should be noted that we didn’t bother with the provided online/phone training session that comes as part of the purchase from Trotec. As it was the weekend and we have a background in IT and experience in CNC we figured we could go it alone and were able to get the system up and running with only a few minor slowdowns and issues that were quickly clarified with some online searches and follow emails from Trotec sales & tech support.
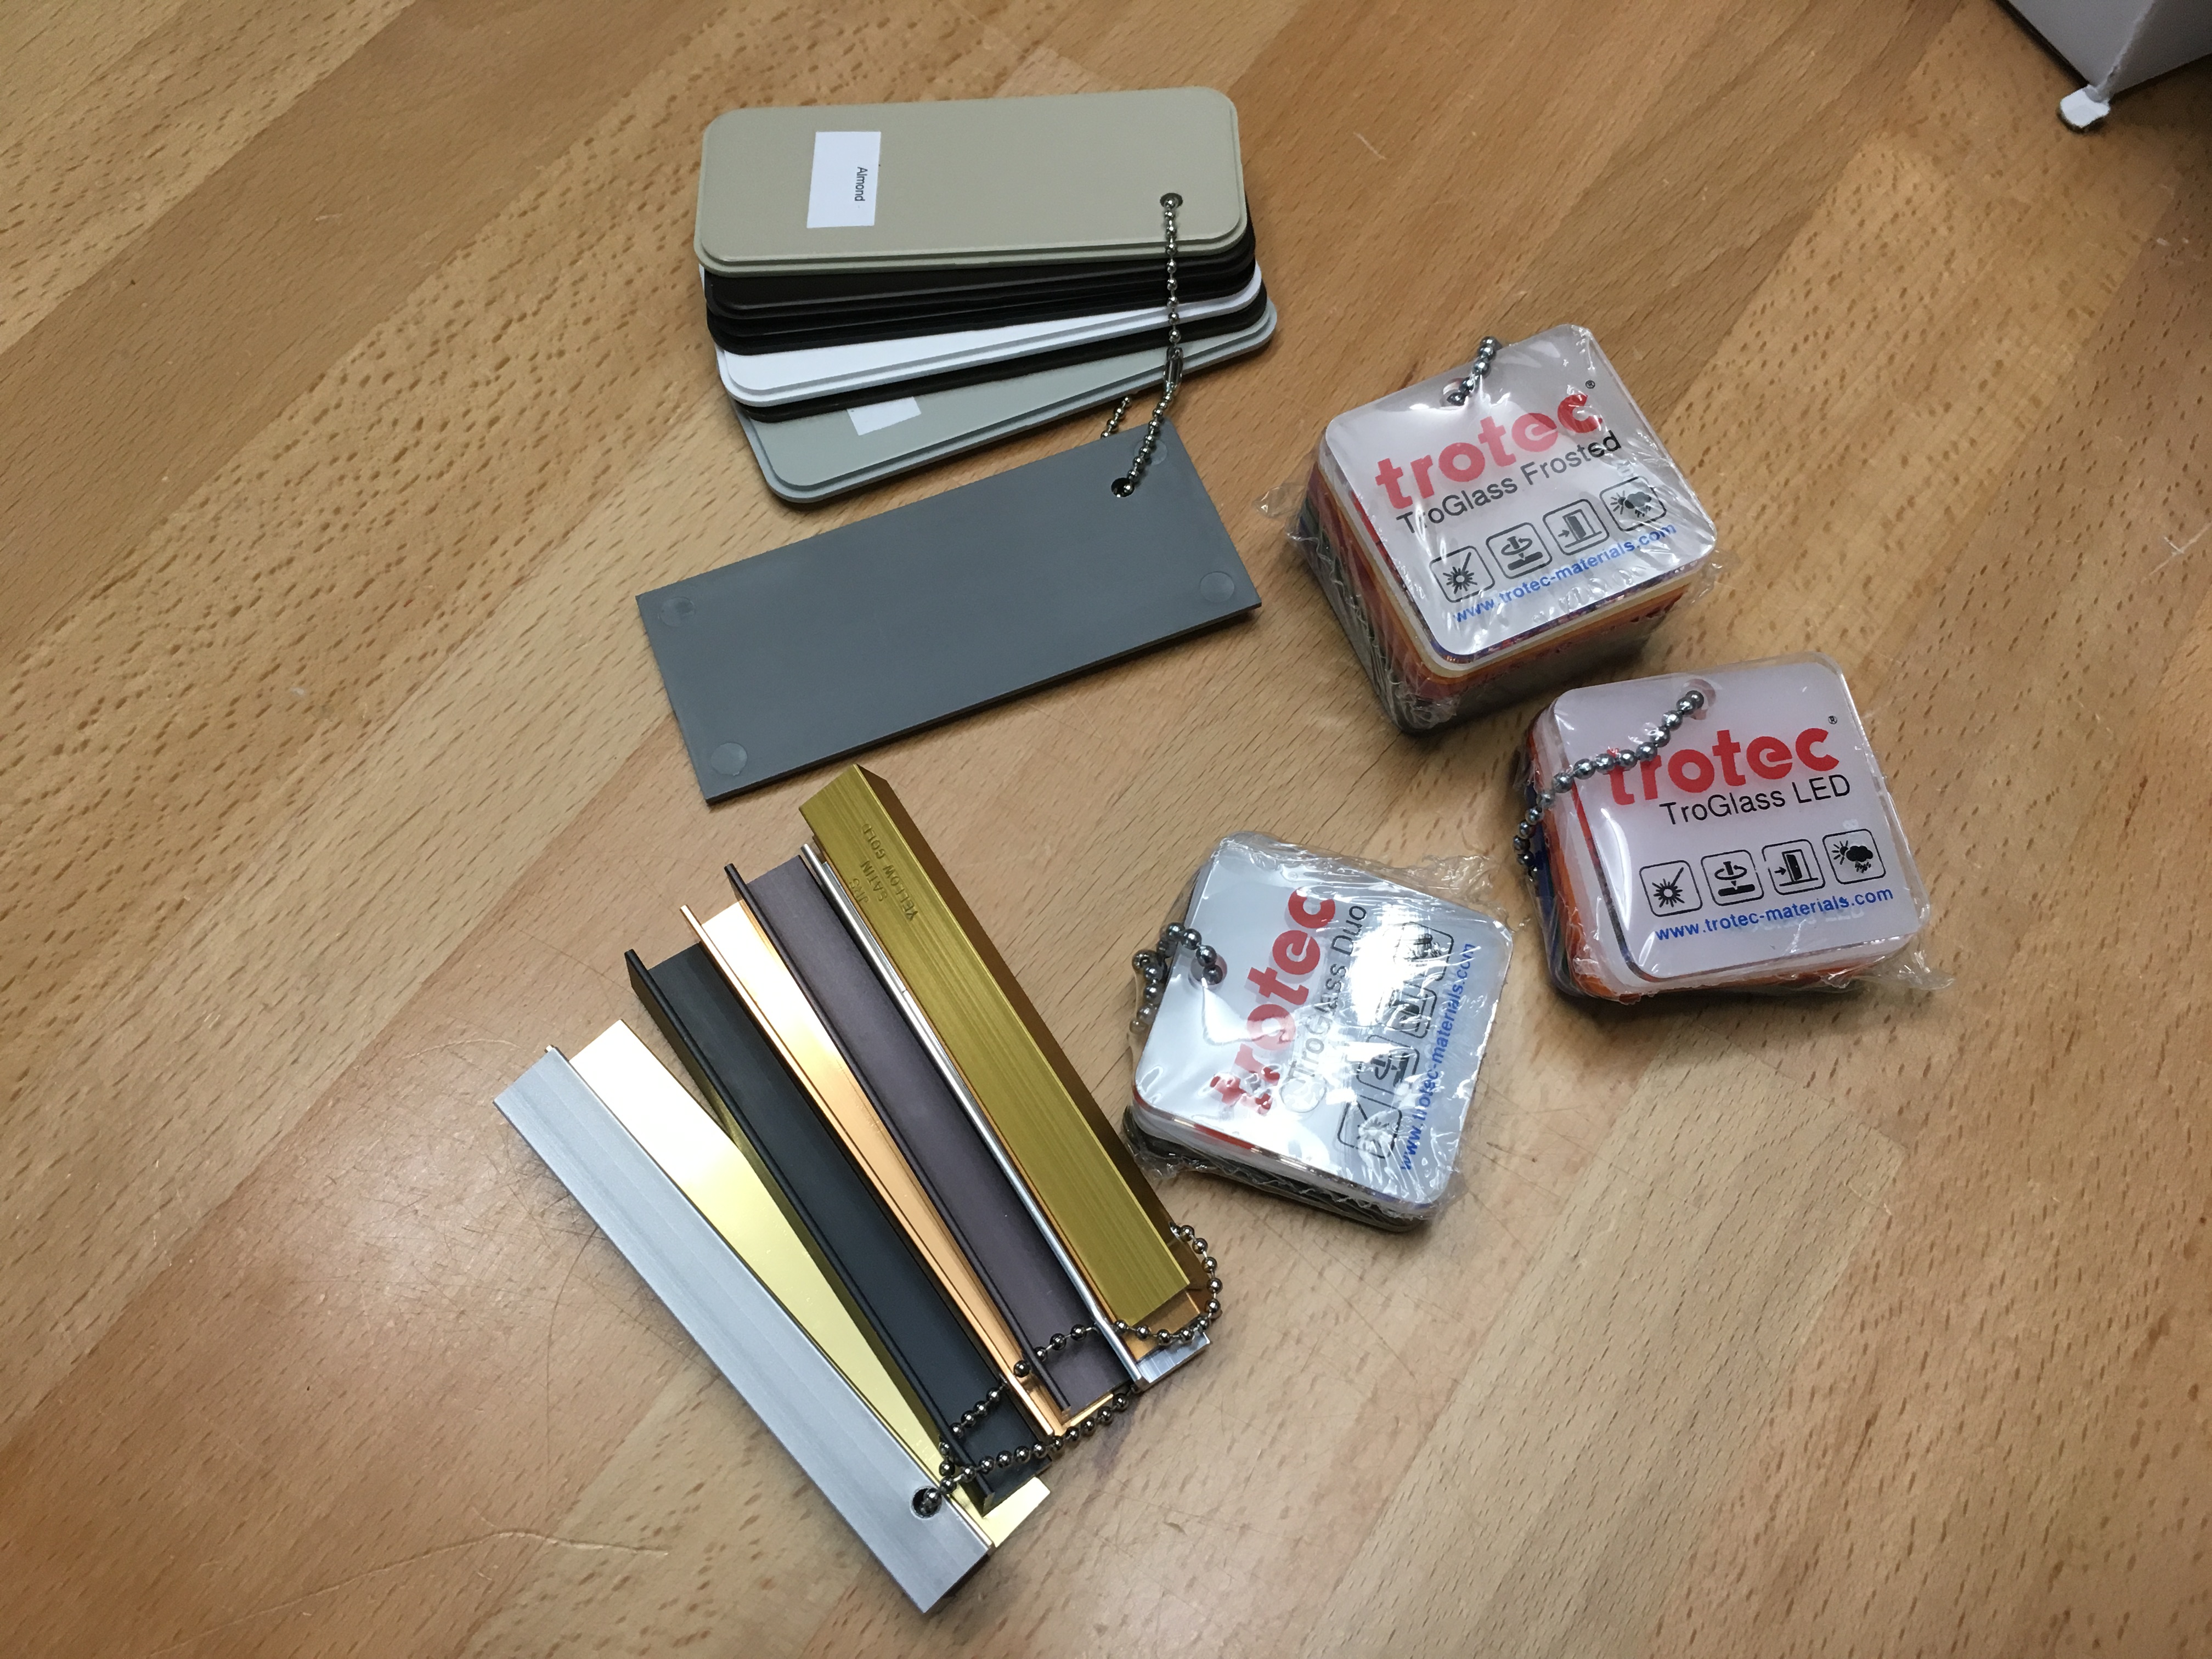
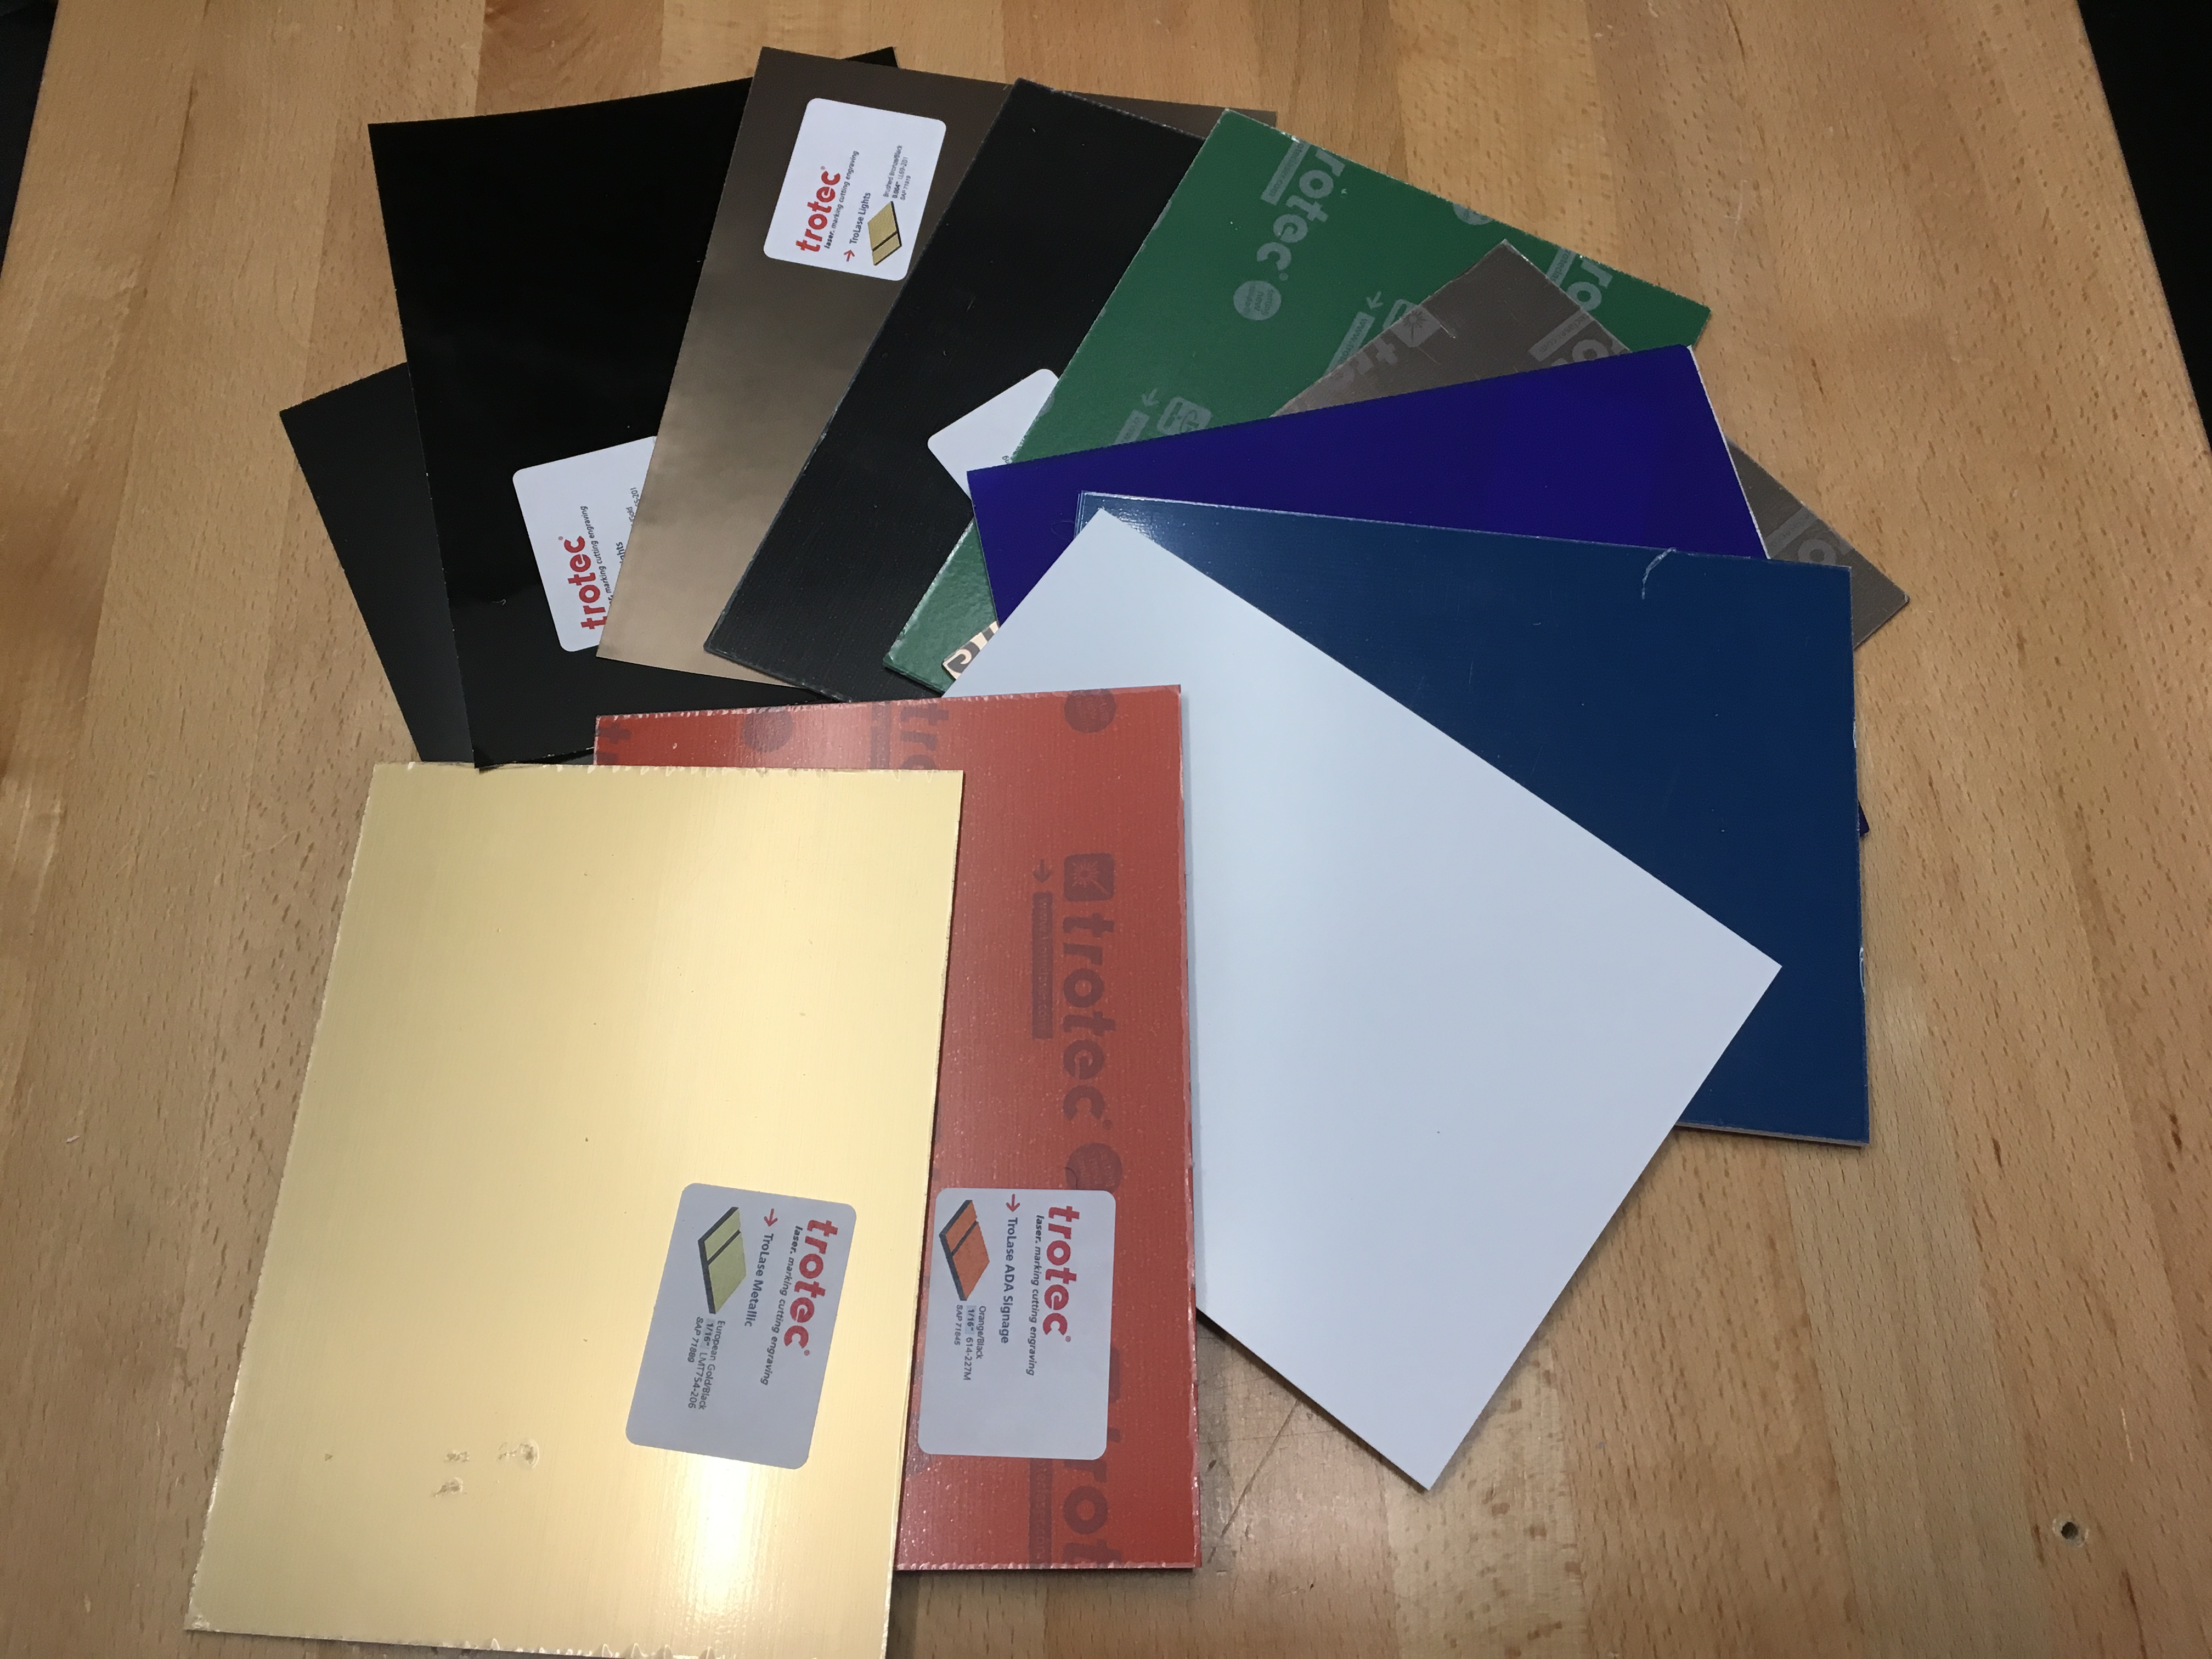
The system comes with a nice selection of sample laserable materials, from wood, metals, and acrylics that Trotec sells via their supplies website , they also threw in a few extra items at our request for no extra cost, along with a $50 gift voucher for use after your first order.
Overall initial impressions are very high. Professional quality system that is built like a tank and performs beyond expectations in terms of quality and speed. Sales & tech support have been very helpful with any questions and issues we have had to date. And did I say it is heavy?!?
Next up is to get it into a permanent location in the shop and doing some real work as we develop new product concepts & ideas and test out the wide range of materials and how we can put them to use.